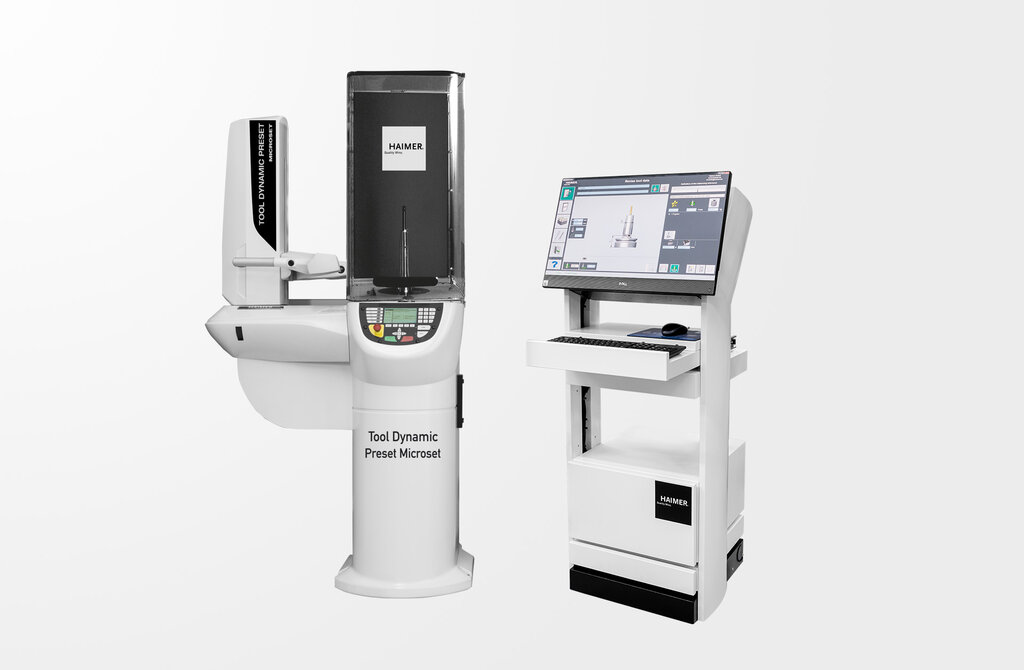
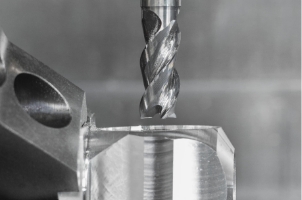
Two approved systems – a trendsetting innovation.
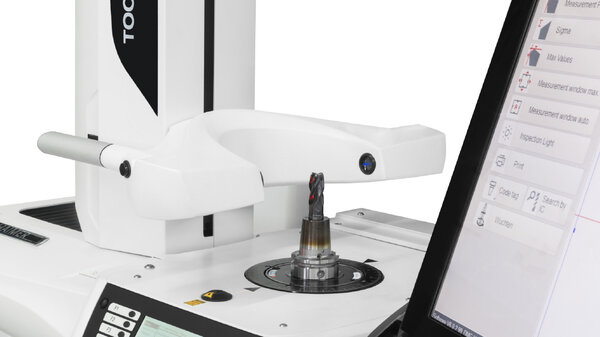
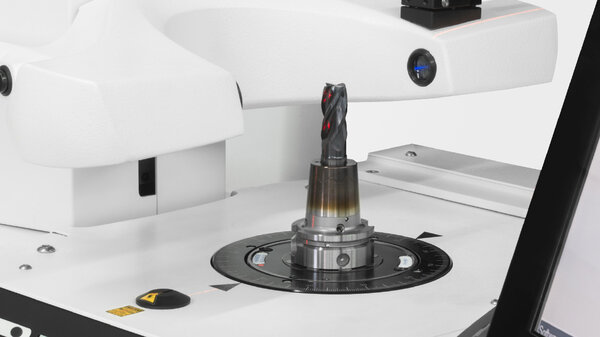
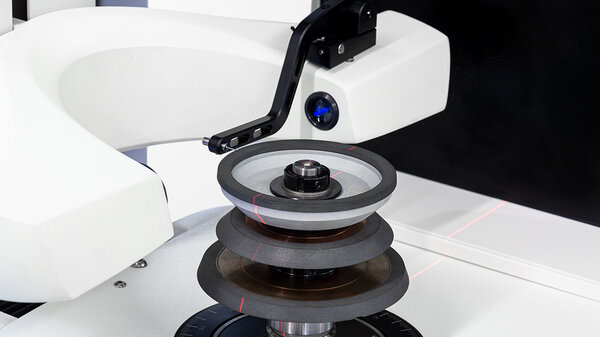
The Tool Dynamic Preset Microset is a perfect combination of HAIMER´s balancing and HAIMER´s Microset presetting technology. The tool is clamped in the high precsion balancing spindle fitted with HAIMER´s proven adapter system. This saves time and increases accuracy because the tool does not have to be re-clamped.
Tool Balancing and Tool Presetting Tool Dynamic TD Preset Microset
Order number:
TD104-H02-EU
Tool Balancing and Tool Presetting Tool Dynamic TD Preset Microset
Quality pass
Highest efficiency and time saving by combining two production stages
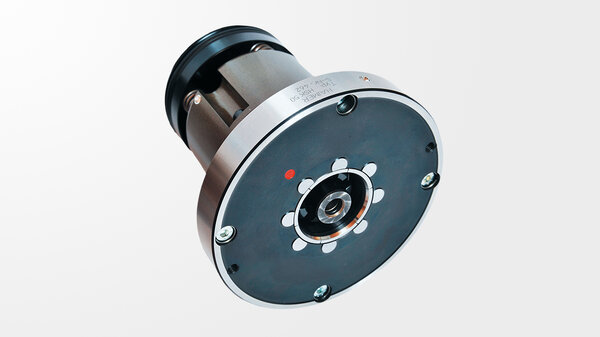
Utmost precision due to high precision clamping in HAIMER´s balancing adapters
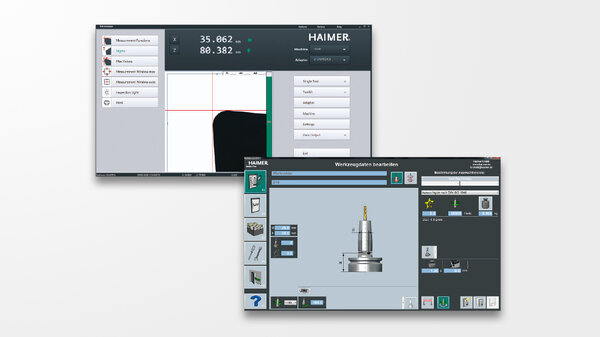
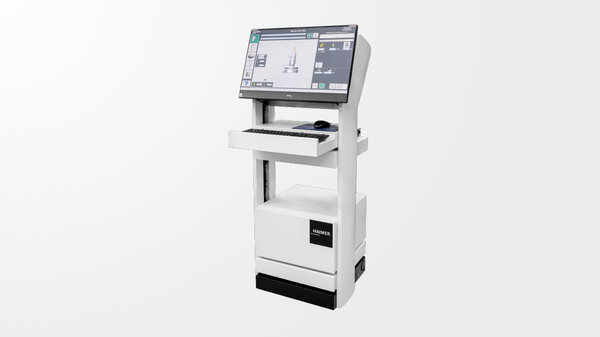
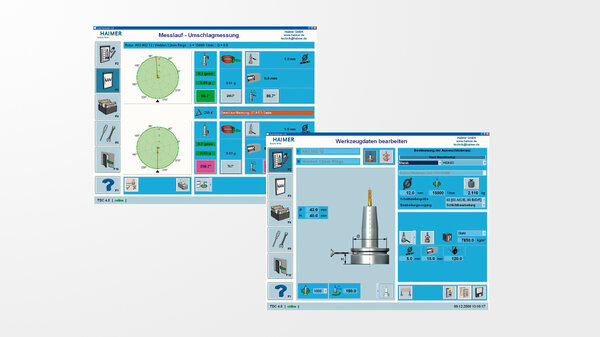
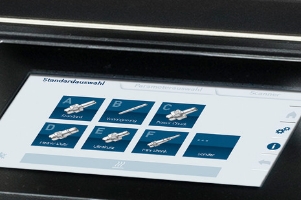
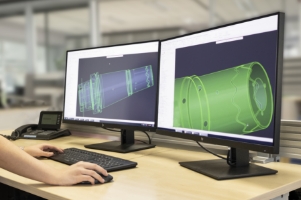
Simple and logical operation with HAIMER TDC 4.0 and Microvision UNO with 27" multi-touchscreen
- Breakthrough state-of-the-art Technology: Tool Dynamic Comfort Plus and Microset UNO Premium
- Highest efficiency and time saving by combining two production stages
- Utmost precision due to high precision clamping in HAIMER’s balancing Adapters
- Needs little space
- Simple and logical Operation with HAIMER TDC 4.0 and Microvision UNO with 27" touchscreen
- Adapter for all interfaces
- Highest possible measuring comfort
Tool Balancing and Tool Presetting Tool Dynamic TD Preset Microset
| Description | Norm: | Value: metric/ inch |
|---|---|---|
| Mass (weight) | M | 823 kg |
| Spindle speed | 300 - 1100 U/Min | |
| Measuring accuracy | < 0,5 gmm | |
| Power connection | 230 / 50 - 60 V / Hz | |
| Power | 1,5 kW | |
| Compressed air | 5 - 6 bar | |
| Repeatability | ± 0,002 mm | |
| Maximum tool length | 700 mm | |
| max. tool length measuring and presetting | 400 mm | |
| Maximum tool diameter | Ø | 400 mm |
| Maximum tool weight | G | 30 kg |
| Smallest unit of measure | 0,001 mm | |
| Width | B | 2000 mm |
| Height | H | 1800 mm |
| Deep | T | 850 mm |
Equipment

Robust, long-life cast iron construction

Highest measuring accuracy due to heavy base

for improved repeatability

USB / LAN data output

Windows 10

Order no. 80.277.00
Storage rack with two integrated drawers for balancing adapters and further accessories

in the Tool Control

or mouse & keyboard for maximum usability

Integrated user interface for easy handling of the machine

Indication of the exact spindle angle position on display

Indicates the position of unbalance and correction with a laser

Balancing by drilling radially

Balancing by rings or other movable weights

Compensation of measuring errors by index balancing (2 measuring runs, indexing angle 180°)

Quick and precise measuring of repetition parts (single measuring run)

Measuring and compensation of unbalance in 1 plane (static)

Languages for user interface for internal display

Order no. 80.252.01
Measuring and compensation of unbalance in 2 planes (dynamic unbalance)

Order no. 80.245.06
New software with user-friendly graphical interface and touchscreen-control

Order no. 80.232.01
Safety hood for extra long toolholders with max. 700 mm length and max. 400 mm diam. (With second laser marking from top)

Order no. 80.211.03
Second laser for laser marking from top

Order no. 80.217.00
Turn the spindle on the selected angle position and simplifies exact positioning of spindle

Order no. 80.233.00.4
Console for storage of touchscreen, keyboard, mouse, printer, and further accessories

Order no. M-A2061
Tool inspection light, edgefinder, release-by-touch

Sigma function

± 2 μm repeatability

Order no. M-Z1810

Memory for 1.000 zero points, tools and tool lists

Easy and intuitive Microvision measuring software
Equipment options

Order no. 80.202.00
Enables balancing at predefined positions, e. g. with balancing screws

Order no. 80.212.00
Milling program allows correction of unbalance via milling

Order no. 80.228.02.04.3 Optional desk for tool scale

Order no. 80.209.00
Enables specification of the specific weight of the rotor to be balanced, if different from stell

Order no. 80.213.01
Enables balancing of rotors by axial drilling, e. g. for grinding wheels

Order no. 80.218.00
Index balancing of rotors which can not be indexed 180° (e. g. PSC)

Order no. 80.214.00
Printout of a detailed measuring protocol (balancing certificate)

Order no. 80.245.12
User administration with individual allocation of user rights

Order no. 80.245.09
Defined areas that are not allowed for the compensation of the unbalance

Order no. 80.245.10
Calculation of alternative positions, when proposed position not possible

Order no. 80.245.11
Shortened measuring run, if measuring accuracy is sufficient

Order no. 80.203.00
Set consiting of 11 x 10 special screws for fine balancing of tool holders with balancing threads M6

Order no. 80.207.12
Automatic transfer of rotor weight from scale

Order no. 91.101.23.00
Customised and related to practice training to enable the full potential of your Tool Dynamic TD Preset balancing machine

Order no. M-P1519

Order no. M-P1516

Order no. M-P1510
M-P1511, M-P4150, M-P1303, M-P1304, M-P1305

Order no. M-Z1005

For the calibration and testing of every balancing machine with the help of a defined mass

Order No. 80.215.05 Label Printer Dymo 550 (on option) Printout of a label with measuring results (short report). USB interface
Description
Tool Balancing and Tool Presetting Tool Dynamic TD Preset Microset
Quality pass
Highest efficiency and time saving by combining two production stages
Utmost precision due to high precision clamping in HAIMER´s balancing adapters
Simple and logical operation with HAIMER TDC 4.0 and Microvision UNO with 27" multi-touchscreen
Two approved systems – a trendsetting innovation.
The Tool Dynamic Preset Microset is a perfect combination of HAIMER´s balancing and HAIMER´s Microset presetting technology. The tool is clamped in the high precsion balancing spindle fitted with HAIMER´s proven adapter system. This saves time and increases accuracy because the tool does not have to be re-clamped.
The Tool Dynamic Preset Microset is a perfect combination of HAIMER´s balancing and HAIMER´s Microset presetting technology. The tool is clamped in the high precsion balancing spindle fitted with HAIMER´s proven adapter system. This saves time and increases accuracy because the tool does not have to be re-clamped.
- Breakthrough state-of-the-art Technology: Tool Dynamic Comfort Plus and Microset UNO Premium
- Highest efficiency and time saving by combining two production stages
- Utmost precision due to high precision clamping in HAIMER’s balancing Adapters
- Needs little space
- Simple and logical Operation with HAIMER TDC 4.0 and Microvision UNO with 27" touchscreen
- Adapter for all interfaces
- Highest possible measuring comfort
Technical specifications
Tool Balancing and Tool Presetting Tool Dynamic TD Preset Microset
| Description | Norm: | Value: metric/ inch |
|---|---|---|
| Mass (weight) | M | 823 kg |
| Spindle speed | 300 - 1100 U/Min | |
| Measuring accuracy | < 0,5 gmm | |
| Power connection | 230 / 50 - 60 V / Hz | |
| Power | 1,5 kW | |
| Compressed air | 5 - 6 bar | |
| Repeatability | ± 0,002 mm | |
| Maximum tool length | 700 mm | |
| max. tool length measuring and presetting | 400 mm | |
| Maximum tool diameter | Ø | 400 mm |
| Maximum tool weight | G | 30 kg |
| Smallest unit of measure | 0,001 mm | |
| Width | B | 2000 mm |
| Height | H | 1800 mm |
| Deep | T | 850 mm |
Equipment
Equipment

Robust, long-life cast iron construction

Highest measuring accuracy due to heavy base

for improved repeatability

USB / LAN data output

Windows 10

Order no. 80.277.00
Storage rack with two integrated drawers for balancing adapters and further accessories

in the Tool Control

or mouse & keyboard for maximum usability

Integrated user interface for easy handling of the machine

Indication of the exact spindle angle position on display

Indicates the position of unbalance and correction with a laser

Balancing by drilling radially

Balancing by rings or other movable weights

Compensation of measuring errors by index balancing (2 measuring runs, indexing angle 180°)

Quick and precise measuring of repetition parts (single measuring run)

Measuring and compensation of unbalance in 1 plane (static)

Languages for user interface for internal display

Order no. 80.252.01
Measuring and compensation of unbalance in 2 planes (dynamic unbalance)

Order no. 80.245.06
New software with user-friendly graphical interface and touchscreen-control

Order no. 80.232.01
Safety hood for extra long toolholders with max. 700 mm length and max. 400 mm diam. (With second laser marking from top)

Order no. 80.211.03
Second laser for laser marking from top

Order no. 80.217.00
Turn the spindle on the selected angle position and simplifies exact positioning of spindle

Order no. 80.233.00.4
Console for storage of touchscreen, keyboard, mouse, printer, and further accessories

Order no. M-A2061
Tool inspection light, edgefinder, release-by-touch

Sigma function

± 2 μm repeatability

Order no. M-Z1810

Memory for 1.000 zero points, tools and tool lists

Easy and intuitive Microvision measuring software
Equipment options

Order no. 80.202.00
Enables balancing at predefined positions, e. g. with balancing screws

Order no. 80.212.00
Milling program allows correction of unbalance via milling

Order no. 80.228.02.04.3 Optional desk for tool scale

Order no. 80.209.00
Enables specification of the specific weight of the rotor to be balanced, if different from stell

Order no. 80.213.01
Enables balancing of rotors by axial drilling, e. g. for grinding wheels

Order no. 80.218.00
Index balancing of rotors which can not be indexed 180° (e. g. PSC)

Order no. 80.214.00
Printout of a detailed measuring protocol (balancing certificate)

Order no. 80.245.12
User administration with individual allocation of user rights

Order no. 80.245.09
Defined areas that are not allowed for the compensation of the unbalance

Order no. 80.245.10
Calculation of alternative positions, when proposed position not possible

Order no. 80.245.11
Shortened measuring run, if measuring accuracy is sufficient

Order no. 80.203.00
Set consiting of 11 x 10 special screws for fine balancing of tool holders with balancing threads M6

Order no. 80.207.12
Automatic transfer of rotor weight from scale

Order no. 91.101.23.00
Customised and related to practice training to enable the full potential of your Tool Dynamic TD Preset balancing machine

Order no. M-P1519

Order no. M-P1516

Order no. M-P1510
M-P1511, M-P4150, M-P1303, M-P1304, M-P1305

Order no. M-Z1005

For the calibration and testing of every balancing machine with the help of a defined mass

Order No. 80.215.05 Label Printer Dymo 550 (on option) Printout of a label with measuring results (short report). USB interface
Haimer Care
The quality at Haimer is not only
by the product, but also by the
accompanying services.
Scope of service
- Early wear detection
- Preservation of the target condition
- High availability of HAIMER specialists
- Consistent quality level
- Prerequisite for certification according to ISO 9001
