Balancing Machine Tool Dynamic TD 1002
Quality pass
Measuring and compensation of unbalance on 1 plane
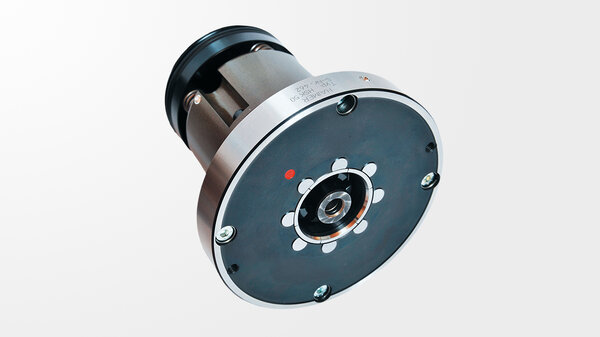
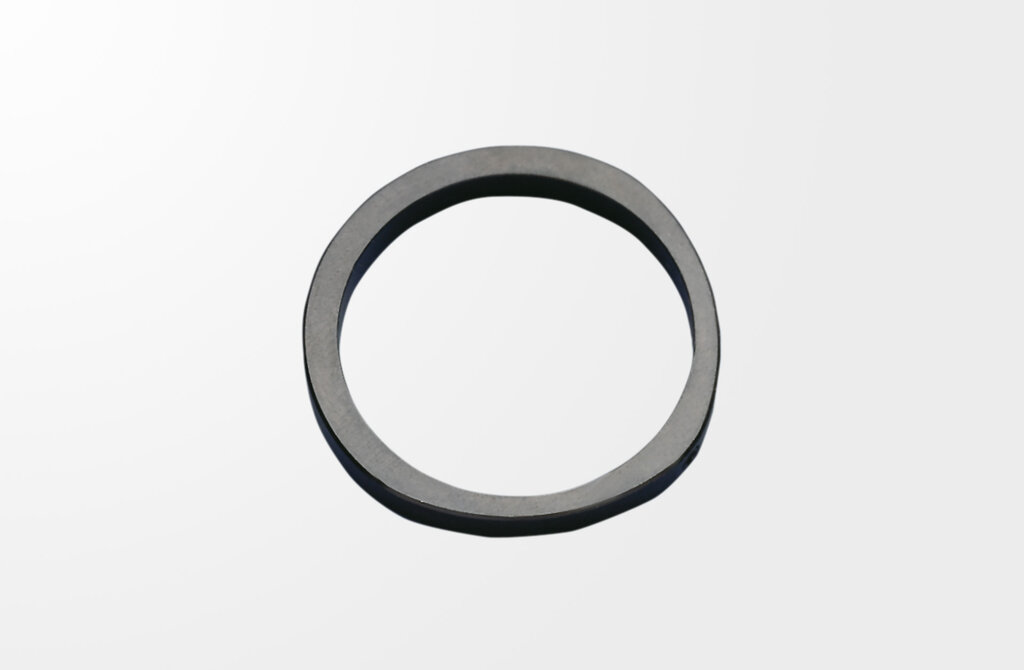
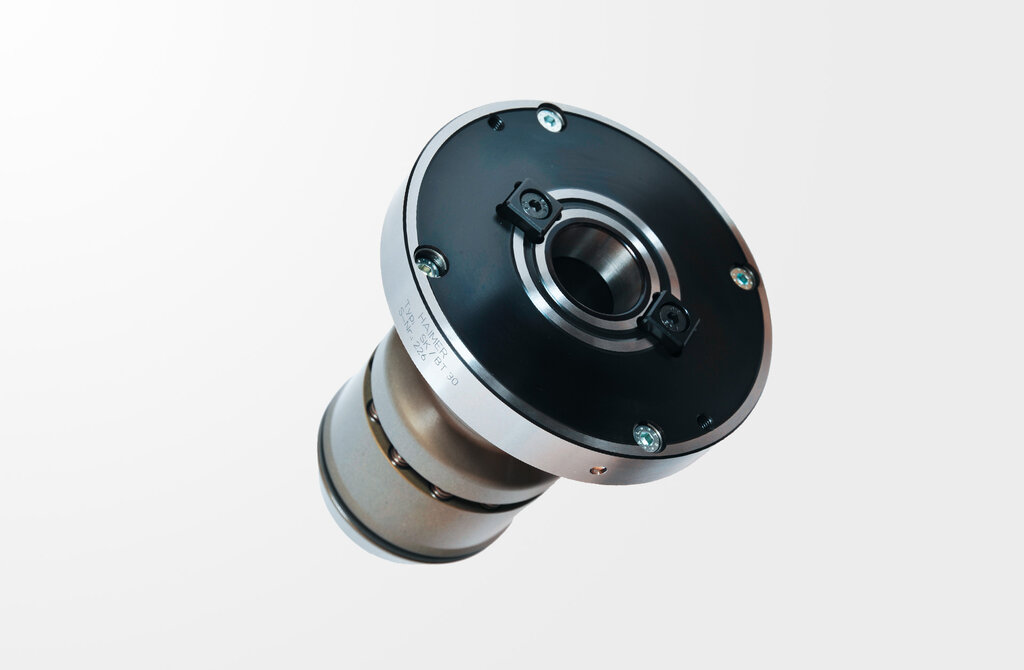
Correction of the unbalance by radial drilling or balancing rings
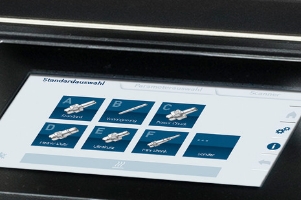
Menu-based handling via integrated user interface and display
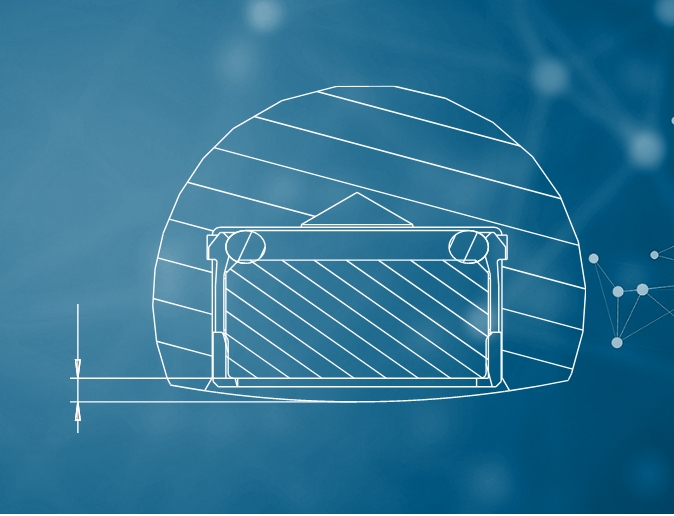
Vibration optimized base

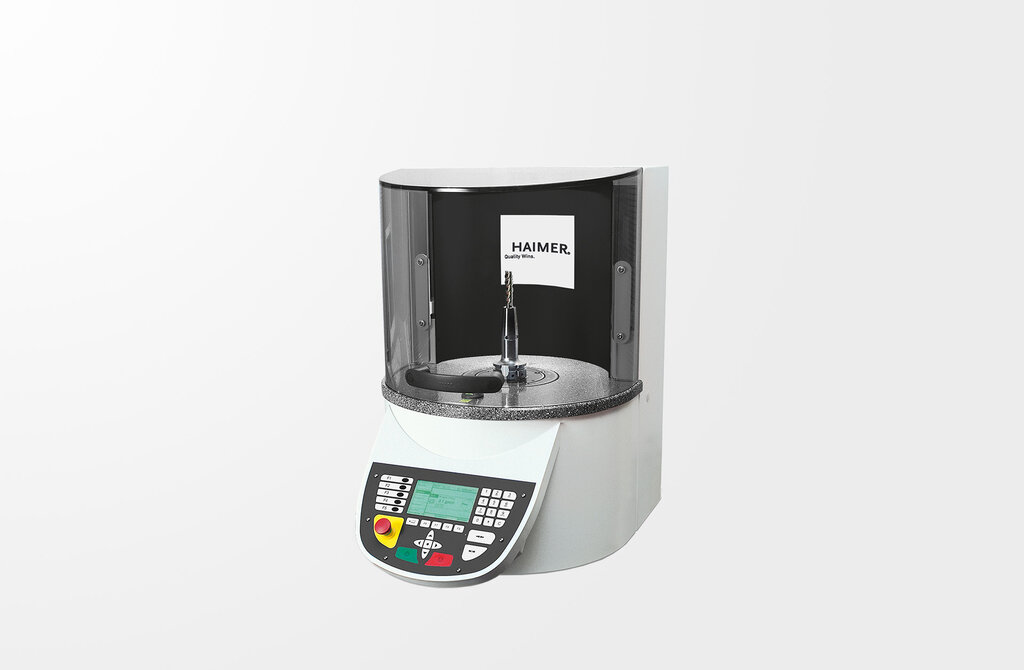
Balancing machine to balance tool holders on 1 plane.

The balancing device Tool Dynamic TD 1002 is your start into the modular balancing system of the Tool Dynamic series. Designed as a table and complementary machine, it is the ideal solution for mould makers, small batch lots, single applications and standard chucks. The Tool Dynamic TD 1002 measures and compensates the unbalance in one plane (static). Therefore it is perfect for balancing short tool holders and tools because of the couple unbalance being very low. The device is operated via the integrated keyboard and screen.

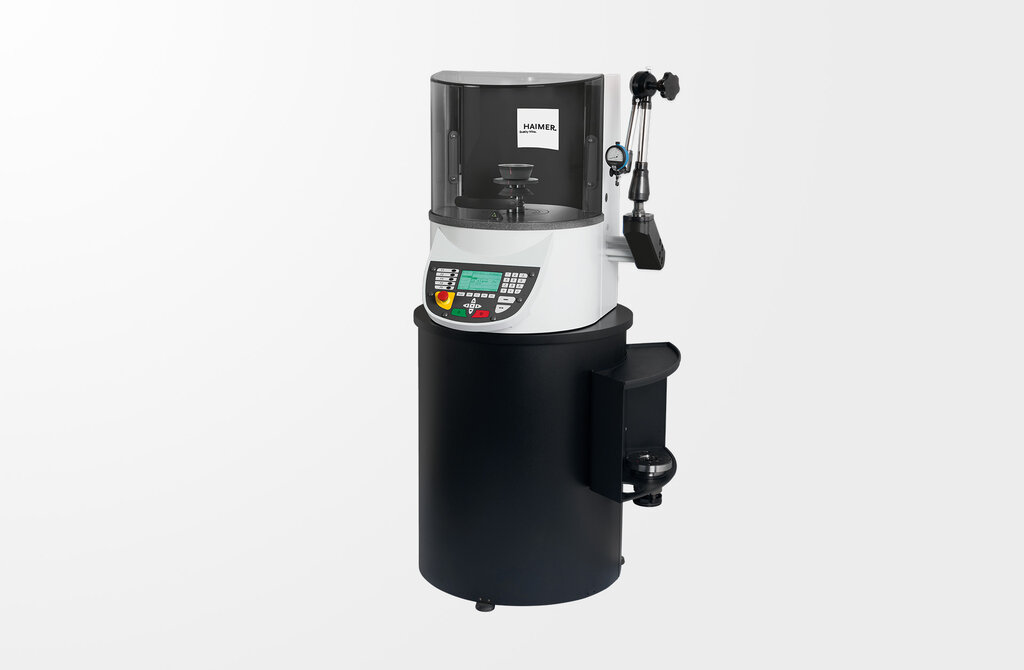
Picture shows balancing device TD 1002 with optional runout measuring device.
Balancing Machine Tool Dynamic TD 1002
asset-120014-1911
Description Norm: Value: metric/ inch
Mass (weight) M 441 lbs
Spindle speed 600 RPM
Measuring accuracy < 1.0 gmm
Power connection 230 / 50 - 60 V / Hz
Power 0.4 kW
Compressed air 87.023 psi
Maximum tool length 14.173 inch
Maximum tool diameter Ø 13.386 inch
Maximum tool weight G 33.075 lbs
Width B 19.685 inch
Height H 26.772 inch
Deep T 32.283 inch
Equipment
 Adapted table for optimized base
Adapted table for optimized base
 Integrated user interface for easy handling of the machine
Integrated user interface for easy handling of the machine
 Indication of the exact spindle angle position on display
Indication of the exact spindle angle position on display
 Indicates the position of unbalance and correction with a laser
Indicates the position of unbalance and correction with a laser
 Balancing by drilling radially
Balancing by drilling radially
 Balancing by rings or other movable weights
Balancing by rings or other movable weights
 Compensation of measuring errors by index balancing (2 measuring runs, indexing angle 180°)
Compensation of measuring errors by index balancing (2 measuring runs, indexing angle 180°)
 Quick and precise measuring of repetition parts (single measuring run)
Quick and precise measuring of repetition parts (single measuring run)
 Measuring and compensation of unbalance in 1 plane (static)
Measuring and compensation of unbalance in 1 plane (static)
 Languages for user interface for internal display
Languages for user interface for internal display
Equipment options
 Order no. 80.252.01
Measuring and compensation of unbalance in 2 planes (dynamic unbalance)
Order no. 80.252.01 Measuring and compensation of unbalance in 2 planes (dynamic unbalance)
 Order no. 80.202.00
Enables balancing at predefined positions, e. g. with balancing screws
Order no. 80.202.00 Enables balancing at predefined positions, e. g. with balancing screws
 Order no. 80.217.00
Turn the spindle on the selected angle position and simplifies exact positioning of spindle
Order no. 80.217.00 Turn the spindle on the selected angle position and simplifies exact positioning of spindle
 Order no. 80.212.00
Milling program allows correction of unbalance via milling
Order no. 80.212.00 Milling program allows correction of unbalance via milling
 Order no. 80.209.00
Enables specification of the specific weight of the rotor to be balanced, if different from stell
Order no. 80.209.00 Enables specification of the specific weight of the rotor to be balanced, if different from stell
 Order no. 80.213.01
Enables balancing of rotors by axial drilling, e. g. for grinding wheels
Order no. 80.213.01 Enables balancing of rotors by axial drilling, e. g. for grinding wheels
 Order no. 80.218.00
Index balancing of rotors which can not be indexed 180° (e. g. PSC)
Order no. 80.218.00 Index balancing of rotors which can not be indexed 180° (e. g. PSC)
 Order no. 80.214.00
Printout of a detailed measuring protocol (balancing certificate)
Order no. 80.214.00 Printout of a detailed measuring protocol (balancing certificate)
 Order no. 80.254.00
Runout measuring device for checking runout and axial runout. The runout measuring unit consists of: Measuring arm with tripod and fine indicator in 0.001 mm accuracy exe
Order no. 80.254.00 Runout measuring device for checking runout and axial runout. The runout measuring unit consists of: Measuring arm with tripod and fine indicator in 0.001 mm accuracy exe
 Order no. 91.101.21.00
Customised and related to practice training to enable the full potential of your Tool Dynamic TD 1002 balancing machine
Order no. 91.101.21.00 Customised and related to practice training to enable the full potential of your Tool Dynamic TD 1002 balancing machine
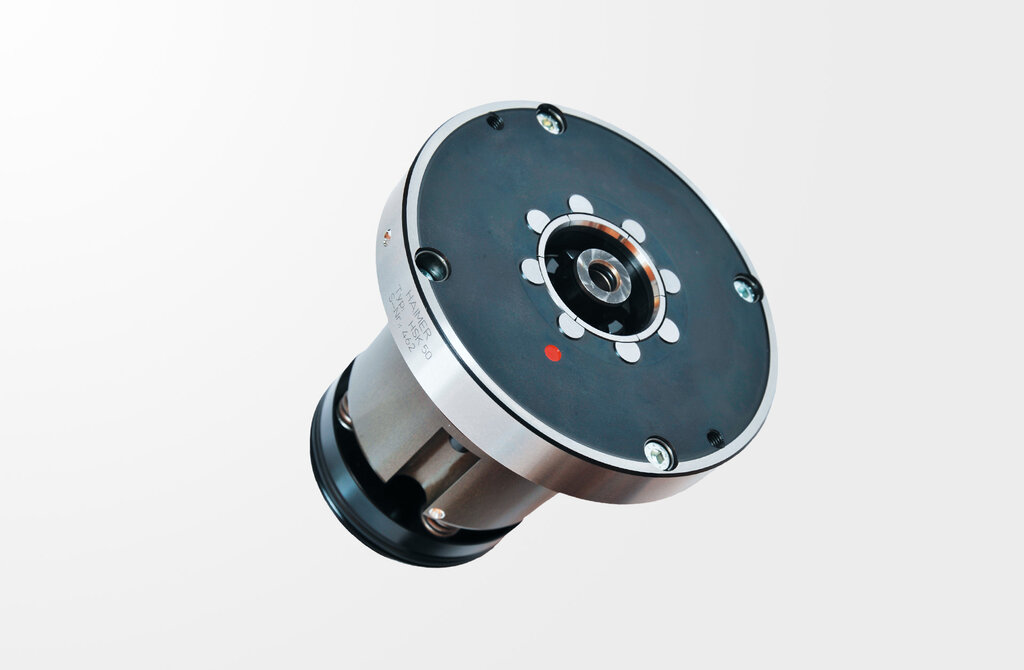
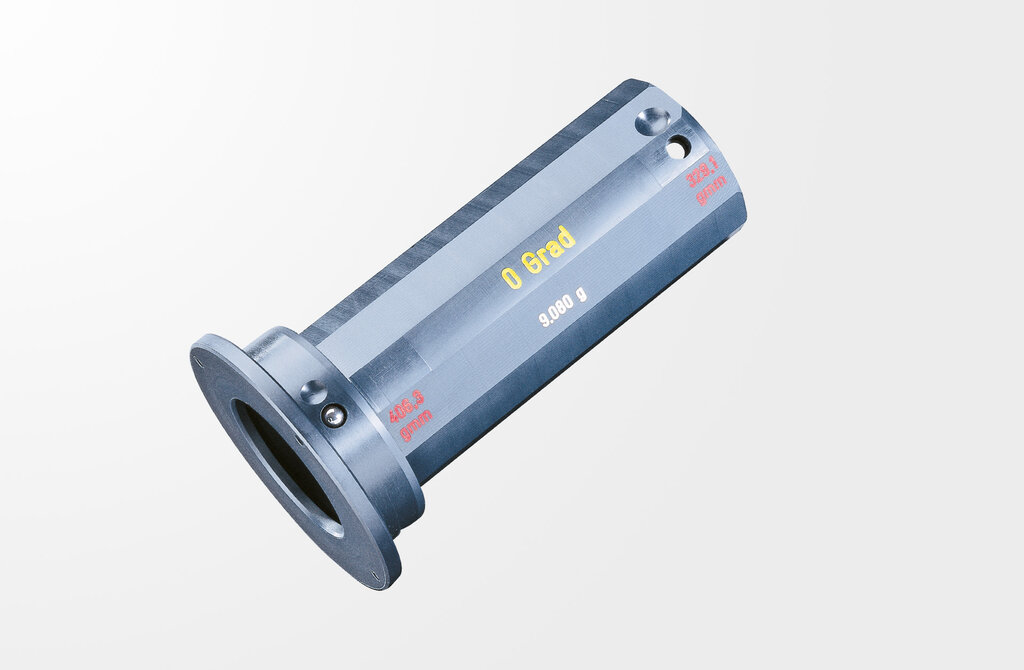
 For the calibration and testing of every balancing machine with the help of a defined mass
For the calibration and testing of every balancing machine with the help of a defined mass
Balancing Machine Tool Dynamic TD 1002
Quality pass
Measuring and compensation of unbalance on 1 plane
Correction of the unbalance by radial drilling or balancing rings
Menu-based handling via integrated user interface and display
Vibration optimized base

Balancing machine to balance tool holders on 1 plane.

The balancing device Tool Dynamic TD 1002 is your start into the modular balancing system of the Tool Dynamic series. Designed as a table and complementary machine, it is the ideal solution for mould makers, small batch lots, single applications and standard chucks. The Tool Dynamic TD 1002 measures and compensates the unbalance in one plane (static). Therefore it is perfect for balancing short tool holders and tools because of the couple unbalance being very low. The device is operated via the integrated keyboard and screen.

Picture shows balancing device TD 1002 with optional runout measuring device.
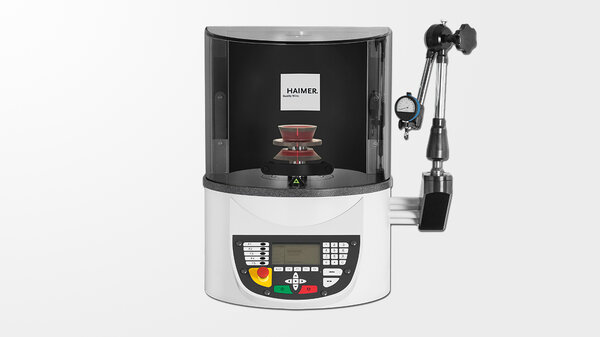
Balancing Machine Tool Dynamic TD 1002
asset-120014-1911
Description Norm: Value: metric/ inch
Mass (weight) M 441 lbs
Spindle speed 600 RPM
Measuring accuracy < 1.0 gmm
Power connection 230 / 50 - 60 V / Hz
Power 0.4 kW
Compressed air 87.023 psi
Maximum tool length 14.173 inch
Maximum tool diameter Ø 13.386 inch
Maximum tool weight G 33.075 lbs
Width B 19.685 inch
Height H 26.772 inch
Deep T 32.283 inch
Equipment
 Adapted table for optimized base
Adapted table for optimized base
 Integrated user interface for easy handling of the machine
Integrated user interface for easy handling of the machine
 Indication of the exact spindle angle position on display
Indication of the exact spindle angle position on display
 Indicates the position of unbalance and correction with a laser
Indicates the position of unbalance and correction with a laser
 Balancing by drilling radially
Balancing by drilling radially
 Balancing by rings or other movable weights
Balancing by rings or other movable weights
 Compensation of measuring errors by index balancing (2 measuring runs, indexing angle 180°)
Compensation of measuring errors by index balancing (2 measuring runs, indexing angle 180°)
 Quick and precise measuring of repetition parts (single measuring run)
Quick and precise measuring of repetition parts (single measuring run)
 Measuring and compensation of unbalance in 1 plane (static)
Measuring and compensation of unbalance in 1 plane (static)
 Languages for user interface for internal display
Languages for user interface for internal display
Equipment options
 Order no. 80.252.01
Measuring and compensation of unbalance in 2 planes (dynamic unbalance)
Order no. 80.252.01 Measuring and compensation of unbalance in 2 planes (dynamic unbalance)
 Order no. 80.202.00
Enables balancing at predefined positions, e. g. with balancing screws
Order no. 80.202.00 Enables balancing at predefined positions, e. g. with balancing screws
 Order no. 80.217.00
Turn the spindle on the selected angle position and simplifies exact positioning of spindle
Order no. 80.217.00 Turn the spindle on the selected angle position and simplifies exact positioning of spindle
 Order no. 80.212.00
Milling program allows correction of unbalance via milling
Order no. 80.212.00 Milling program allows correction of unbalance via milling
 Order no. 80.209.00
Enables specification of the specific weight of the rotor to be balanced, if different from stell
Order no. 80.209.00 Enables specification of the specific weight of the rotor to be balanced, if different from stell
 Order no. 80.213.01
Enables balancing of rotors by axial drilling, e. g. for grinding wheels
Order no. 80.213.01 Enables balancing of rotors by axial drilling, e. g. for grinding wheels
 Order no. 80.218.00
Index balancing of rotors which can not be indexed 180° (e. g. PSC)
Order no. 80.218.00 Index balancing of rotors which can not be indexed 180° (e. g. PSC)
 Order no. 80.214.00
Printout of a detailed measuring protocol (balancing certificate)
Order no. 80.214.00 Printout of a detailed measuring protocol (balancing certificate)
 Order no. 80.254.00
Runout measuring device for checking runout and axial runout. The runout measuring unit consists of: Measuring arm with tripod and fine indicator in 0.001 mm accuracy exe
Order no. 80.254.00 Runout measuring device for checking runout and axial runout. The runout measuring unit consists of: Measuring arm with tripod and fine indicator in 0.001 mm accuracy exe
 Order no. 91.101.21.00
Customised and related to practice training to enable the full potential of your Tool Dynamic TD 1002 balancing machine
Order no. 91.101.21.00 Customised and related to practice training to enable the full potential of your Tool Dynamic TD 1002 balancing machine
 For the calibration and testing of every balancing machine with the help of a defined mass
For the calibration and testing of every balancing machine with the help of a defined mass
Haimer Care
Haimer Care
The quality at Haimer is not only by the product, but also by the accompanying services.

Scope of service
  • Early wear detection 
  • Preservation of the target condition 
  • High availability of HAIMER specialists 
  • Consistent quality level 
  • Prerequisite for certification according to ISO 9001
Haimer care in detail

Call us

Headquarters Igenhausen

+49-8257-99880

Open: 8:00 - 18:00 

Write to us

fast and easy

Do you have questions about HAIMER, would you like more information about our products or an individual offer?

Write to us

Sales contact

Find us here

Do you have questions about HAIMER, would you like more information about our products or an individual offer?

Sales contact

Newsletter

stay updated

You want to get the most important HAIMER news directly to your inbox? You have come to the right place.
Subscribe to the newsletter