Tool Dynamic TD 800
Special Balancing Machines
Your solution for big rotors up to diam. 800 mm
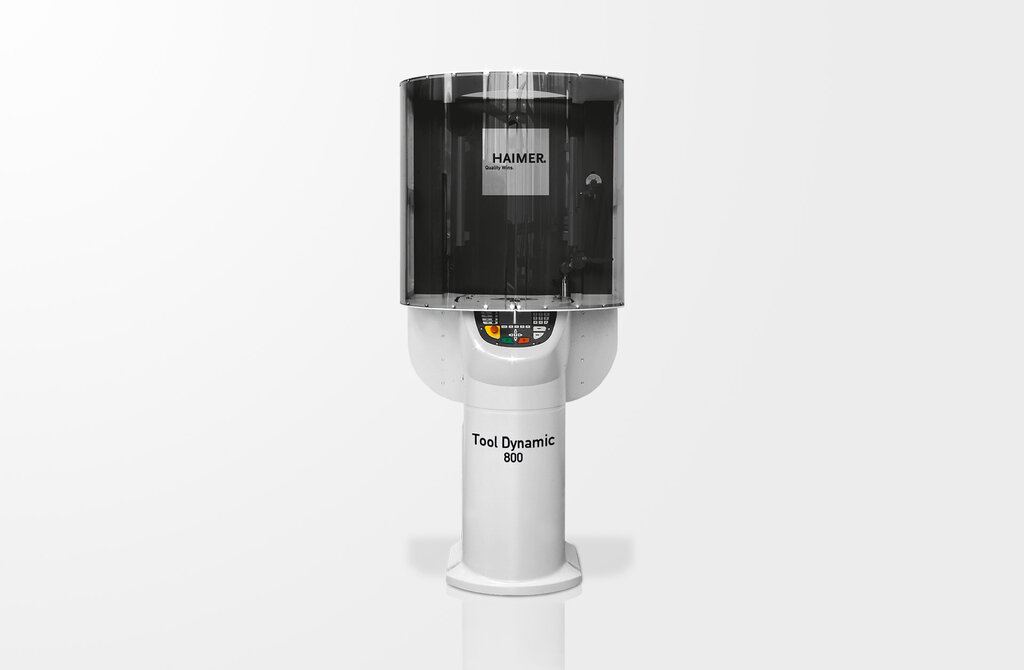
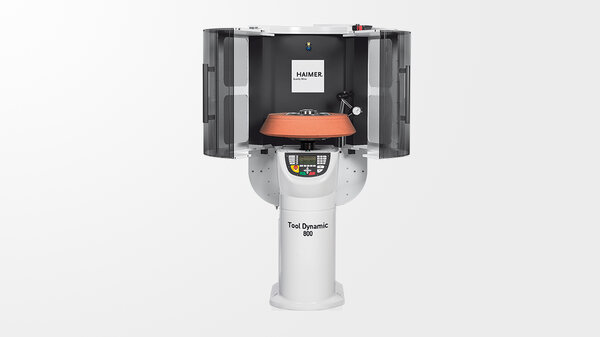
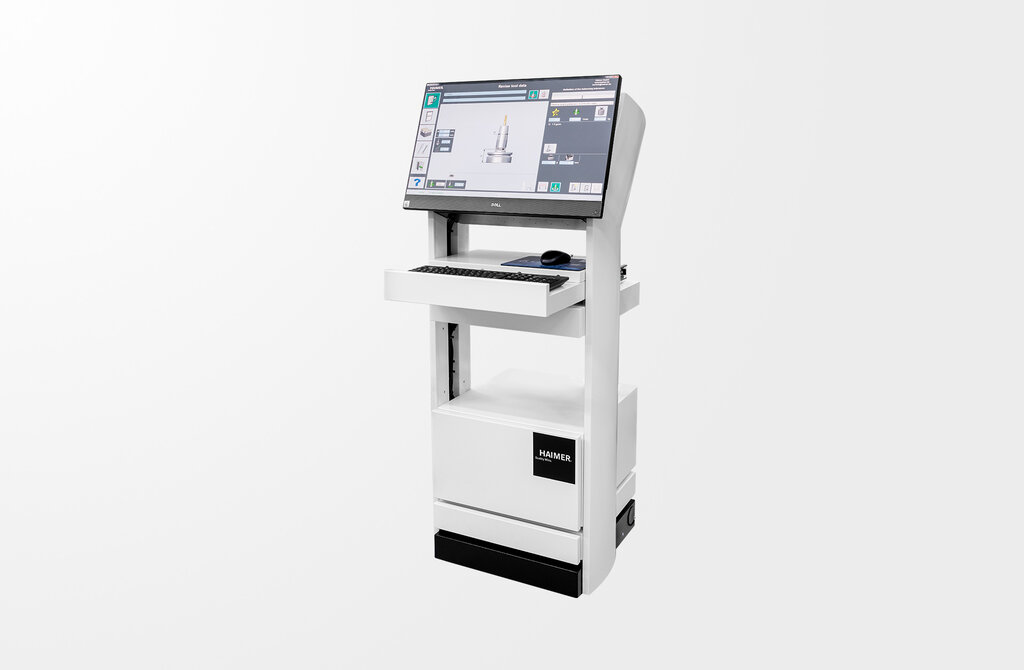
Based on the proven Tool Dynamic balancing technology the Tool Dynamic TD 800 allows balancing big rotors of all kind. Bearing rings, grinding wheels and turbine wheels. With hand tailored clamping adapters you can balance your rotors as easy and quick as usual. The safety hood of the TD 800 is segmented and opens to the side. Thus the rotor is accessible from above and heavy parts can be handled by a crane.
Picture shows TD 800 with optional runout measuring device.
Special Balancing Machines Tool Dynamic TD 800
Order number:
TD107-H04-EU
Special Balancing Machines Tool Dynamic TD 800
Quality pass
Measuring and compensation of unbalance on 1 and 2 planes
Correction of the unbalance by radial drilling, milling, balancing rings or balancing screws
Comfortable handling via touchscreen
Base made polymer concrete for highest measuring accuracy
Special Balancing Machines Tool Dynamic TD 800
| Description | Norm: | Value: metric/ inch |
|---|---|---|
| Mass (weight) | M | 674 kg |
| Spindle speed | 100 - 600 U/Min | |
| Measuring accuracy | < 0,5 gmm | |
| Power connection | 230 / 50 - 60 V / Hz | |
| Power | 1,0 kW | |
| Compressed air | 5 - 6 bar | |
| Air consumption | 30 l/h | |
| Maximum tool length | 750 mm | |
| Maximum tool diameter | Ø | 800 mm |
| Maximum tool weight | G | 110 kg |
| Width | B | 2000 mm |
| Height | H | 1950 mm |
| Deep | T | 1020 mm |
Equipment

Highest measuring accuracy due to heavy base

Integrated user interface for easy handling of the machine

Indication of the exact spindle angle position on display

Indicates the position of unbalance and correction with a laser

Print balancing result on label

Balancing by drilling radially

Balancing by rings or other movable weights

Compensation of measuring errors by index balancing (2 measuring runs, indexing angle 180°)

Quick and precise measuring of repetition parts (single measuring run)

Measuring and compensation of unbalance in 1 plane (static)

Order no. 80.252.01
Measuring and compensation of unbalance in 2 planes (dynamic unbalance)

Order no. 80.217.00
Turn the spindle on the selected angle position and simplifies exact positioning of spindle

Order no. 80.277.00
Storage rack with two integrated drawers for balancing adapters and further accessories

Order no. 80.212.00
Milling program allows correction of unbalance via milling

Order no. 80.245.06
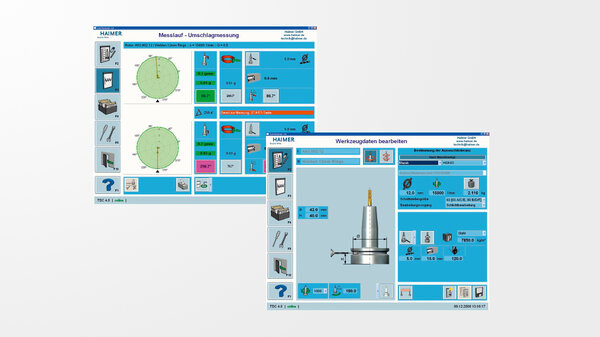
New software with user-friendly graphical interface and touchscreen-control

Order no. 80.233.00.4
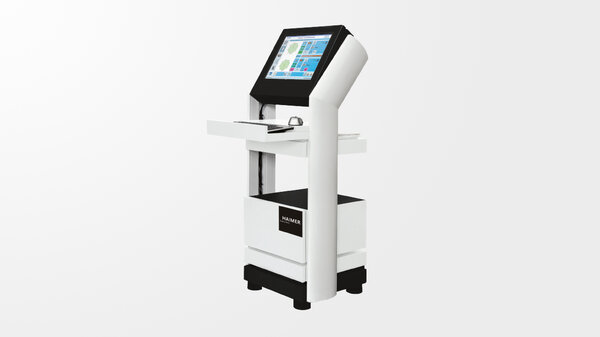
Console for storage of touchscreen, keyboard, mouse, printer, and further accessories

Order no. 80.229.04
Package for comfortable usage via touchscreen for integrated PC (includes sophisticated 19″ touchscreen, keyboard, mouse).

Order no. 80.211.03
Second laser for laser marking from top

Languages for user interface for internal display
Equipment options

Order no. 80.209.00
Enables specification of the specific weight of the rotor to be balanced, if different from stell

Order no. 80.213.01
Enables balancing of rotors by axial drilling, e. g. for grinding wheels

Order no. 80.218.00
Index balancing of rotors which can not be indexed 180° (e. g. PSC)

Order no. 80.214.00
Printout of a detailed measuring protocol (balancing certificate)

Order no. 80.245.12
User administration with individual allocation of user rights

Order no. 80.245.09
Defined areas that are not allowed for the compensation of the unbalance

Order no. 80.245.10
Calculation of alternative positions, when proposed position not possible

Order no. 80.245.11
Shortened measuring run, if measuring accuracy is sufficient

Order no. 80.207.12
Automatic transfer of rotor weight from scale

Order no. 80.245.13
Software to export measuring results

Order no. 80.200.02
Customised and related to practice training to enable the full potential of your Tool Dynamic balancing machine

Order no. 91.101.24.00
Customised and related to practice training to enable the full potential of your Tool Dynamic TD 800 balancing machine

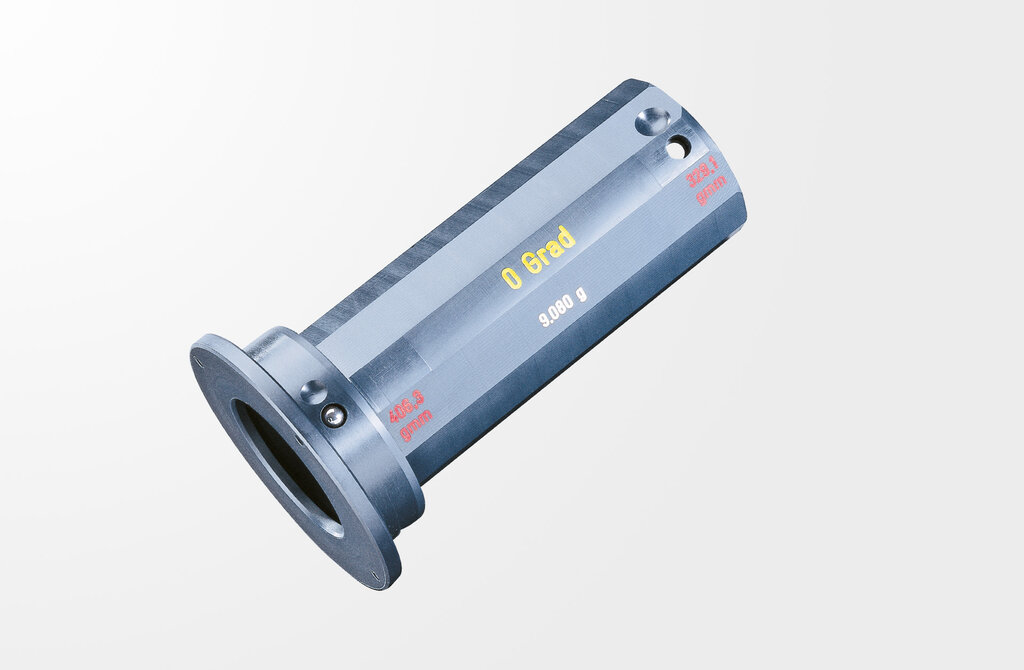
For the calibration and testing of every balancing machine with the help of a defined mass

Order No. 80.215.05 Label Printer Dymo 550 (on option) Printout of a label with measuring results (short report). USB interface
Description
Special Balancing Machines Tool Dynamic TD 800
Quality pass
Measuring and compensation of unbalance on 1 and 2 planes
Correction of the unbalance by radial drilling, milling, balancing rings or balancing screws
Comfortable handling via touchscreen
Base made polymer concrete for highest measuring accuracy
Tool Dynamic TD 800
Special Balancing Machines
Your solution for big rotors up to diam. 800 mm
Based on the proven Tool Dynamic balancing technology the Tool Dynamic TD 800 allows balancing big rotors of all kind. Bearing rings, grinding wheels and turbine wheels. With hand tailored clamping adapters you can balance your rotors as easy and quick as usual. The safety hood of the TD 800 is segmented and opens to the side. Thus the rotor is accessible from above and heavy parts can be handled by a crane.
Picture shows TD 800 with optional runout measuring device.
Technical specifications
Special Balancing Machines Tool Dynamic TD 800
| Description | Norm: | Value: metric/ inch |
|---|---|---|
| Mass (weight) | M | 674 kg |
| Spindle speed | 100 - 600 U/Min | |
| Measuring accuracy | < 0,5 gmm | |
| Power connection | 230 / 50 - 60 V / Hz | |
| Power | 1,0 kW | |
| Compressed air | 5 - 6 bar | |
| Air consumption | 30 l/h | |
| Maximum tool length | 750 mm | |
| Maximum tool diameter | Ø | 800 mm |
| Maximum tool weight | G | 110 kg |
| Width | B | 2000 mm |
| Height | H | 1950 mm |
| Deep | T | 1020 mm |
Equipment
Equipment

Highest measuring accuracy due to heavy base

Integrated user interface for easy handling of the machine

Indication of the exact spindle angle position on display

Indicates the position of unbalance and correction with a laser

Print balancing result on label

Balancing by drilling radially

Balancing by rings or other movable weights

Compensation of measuring errors by index balancing (2 measuring runs, indexing angle 180°)

Quick and precise measuring of repetition parts (single measuring run)

Measuring and compensation of unbalance in 1 plane (static)

Order no. 80.252.01
Measuring and compensation of unbalance in 2 planes (dynamic unbalance)

Order no. 80.217.00
Turn the spindle on the selected angle position and simplifies exact positioning of spindle

Order no. 80.277.00
Storage rack with two integrated drawers for balancing adapters and further accessories

Order no. 80.212.00
Milling program allows correction of unbalance via milling

Order no. 80.245.06
New software with user-friendly graphical interface and touchscreen-control

Order no. 80.233.00.4
Console for storage of touchscreen, keyboard, mouse, printer, and further accessories

Order no. 80.229.04
Package for comfortable usage via touchscreen for integrated PC (includes sophisticated 19″ touchscreen, keyboard, mouse).

Order no. 80.211.03
Second laser for laser marking from top

Languages for user interface for internal display
Equipment options

Order no. 80.209.00
Enables specification of the specific weight of the rotor to be balanced, if different from stell

Order no. 80.213.01
Enables balancing of rotors by axial drilling, e. g. for grinding wheels

Order no. 80.218.00
Index balancing of rotors which can not be indexed 180° (e. g. PSC)

Order no. 80.214.00
Printout of a detailed measuring protocol (balancing certificate)

Order no. 80.245.12
User administration with individual allocation of user rights

Order no. 80.245.09
Defined areas that are not allowed for the compensation of the unbalance

Order no. 80.245.10
Calculation of alternative positions, when proposed position not possible

Order no. 80.245.11
Shortened measuring run, if measuring accuracy is sufficient

Order no. 80.207.12
Automatic transfer of rotor weight from scale

Order no. 80.245.13
Software to export measuring results

Order no. 80.200.02
Customised and related to practice training to enable the full potential of your Tool Dynamic balancing machine

Order no. 91.101.24.00
Customised and related to practice training to enable the full potential of your Tool Dynamic TD 800 balancing machine

For the calibration and testing of every balancing machine with the help of a defined mass

Order No. 80.215.05 Label Printer Dymo 550 (on option) Printout of a label with measuring results (short report). USB interface
Accessories
Haimer Care
The quality at Haimer is not only
by the product, but also by the
accompanying services.
Scope of service
- Early wear detection
- Preservation of the target condition
- High availability of HAIMER specialists
- Consistent quality level
- Prerequisite for certification according to ISO 9001
